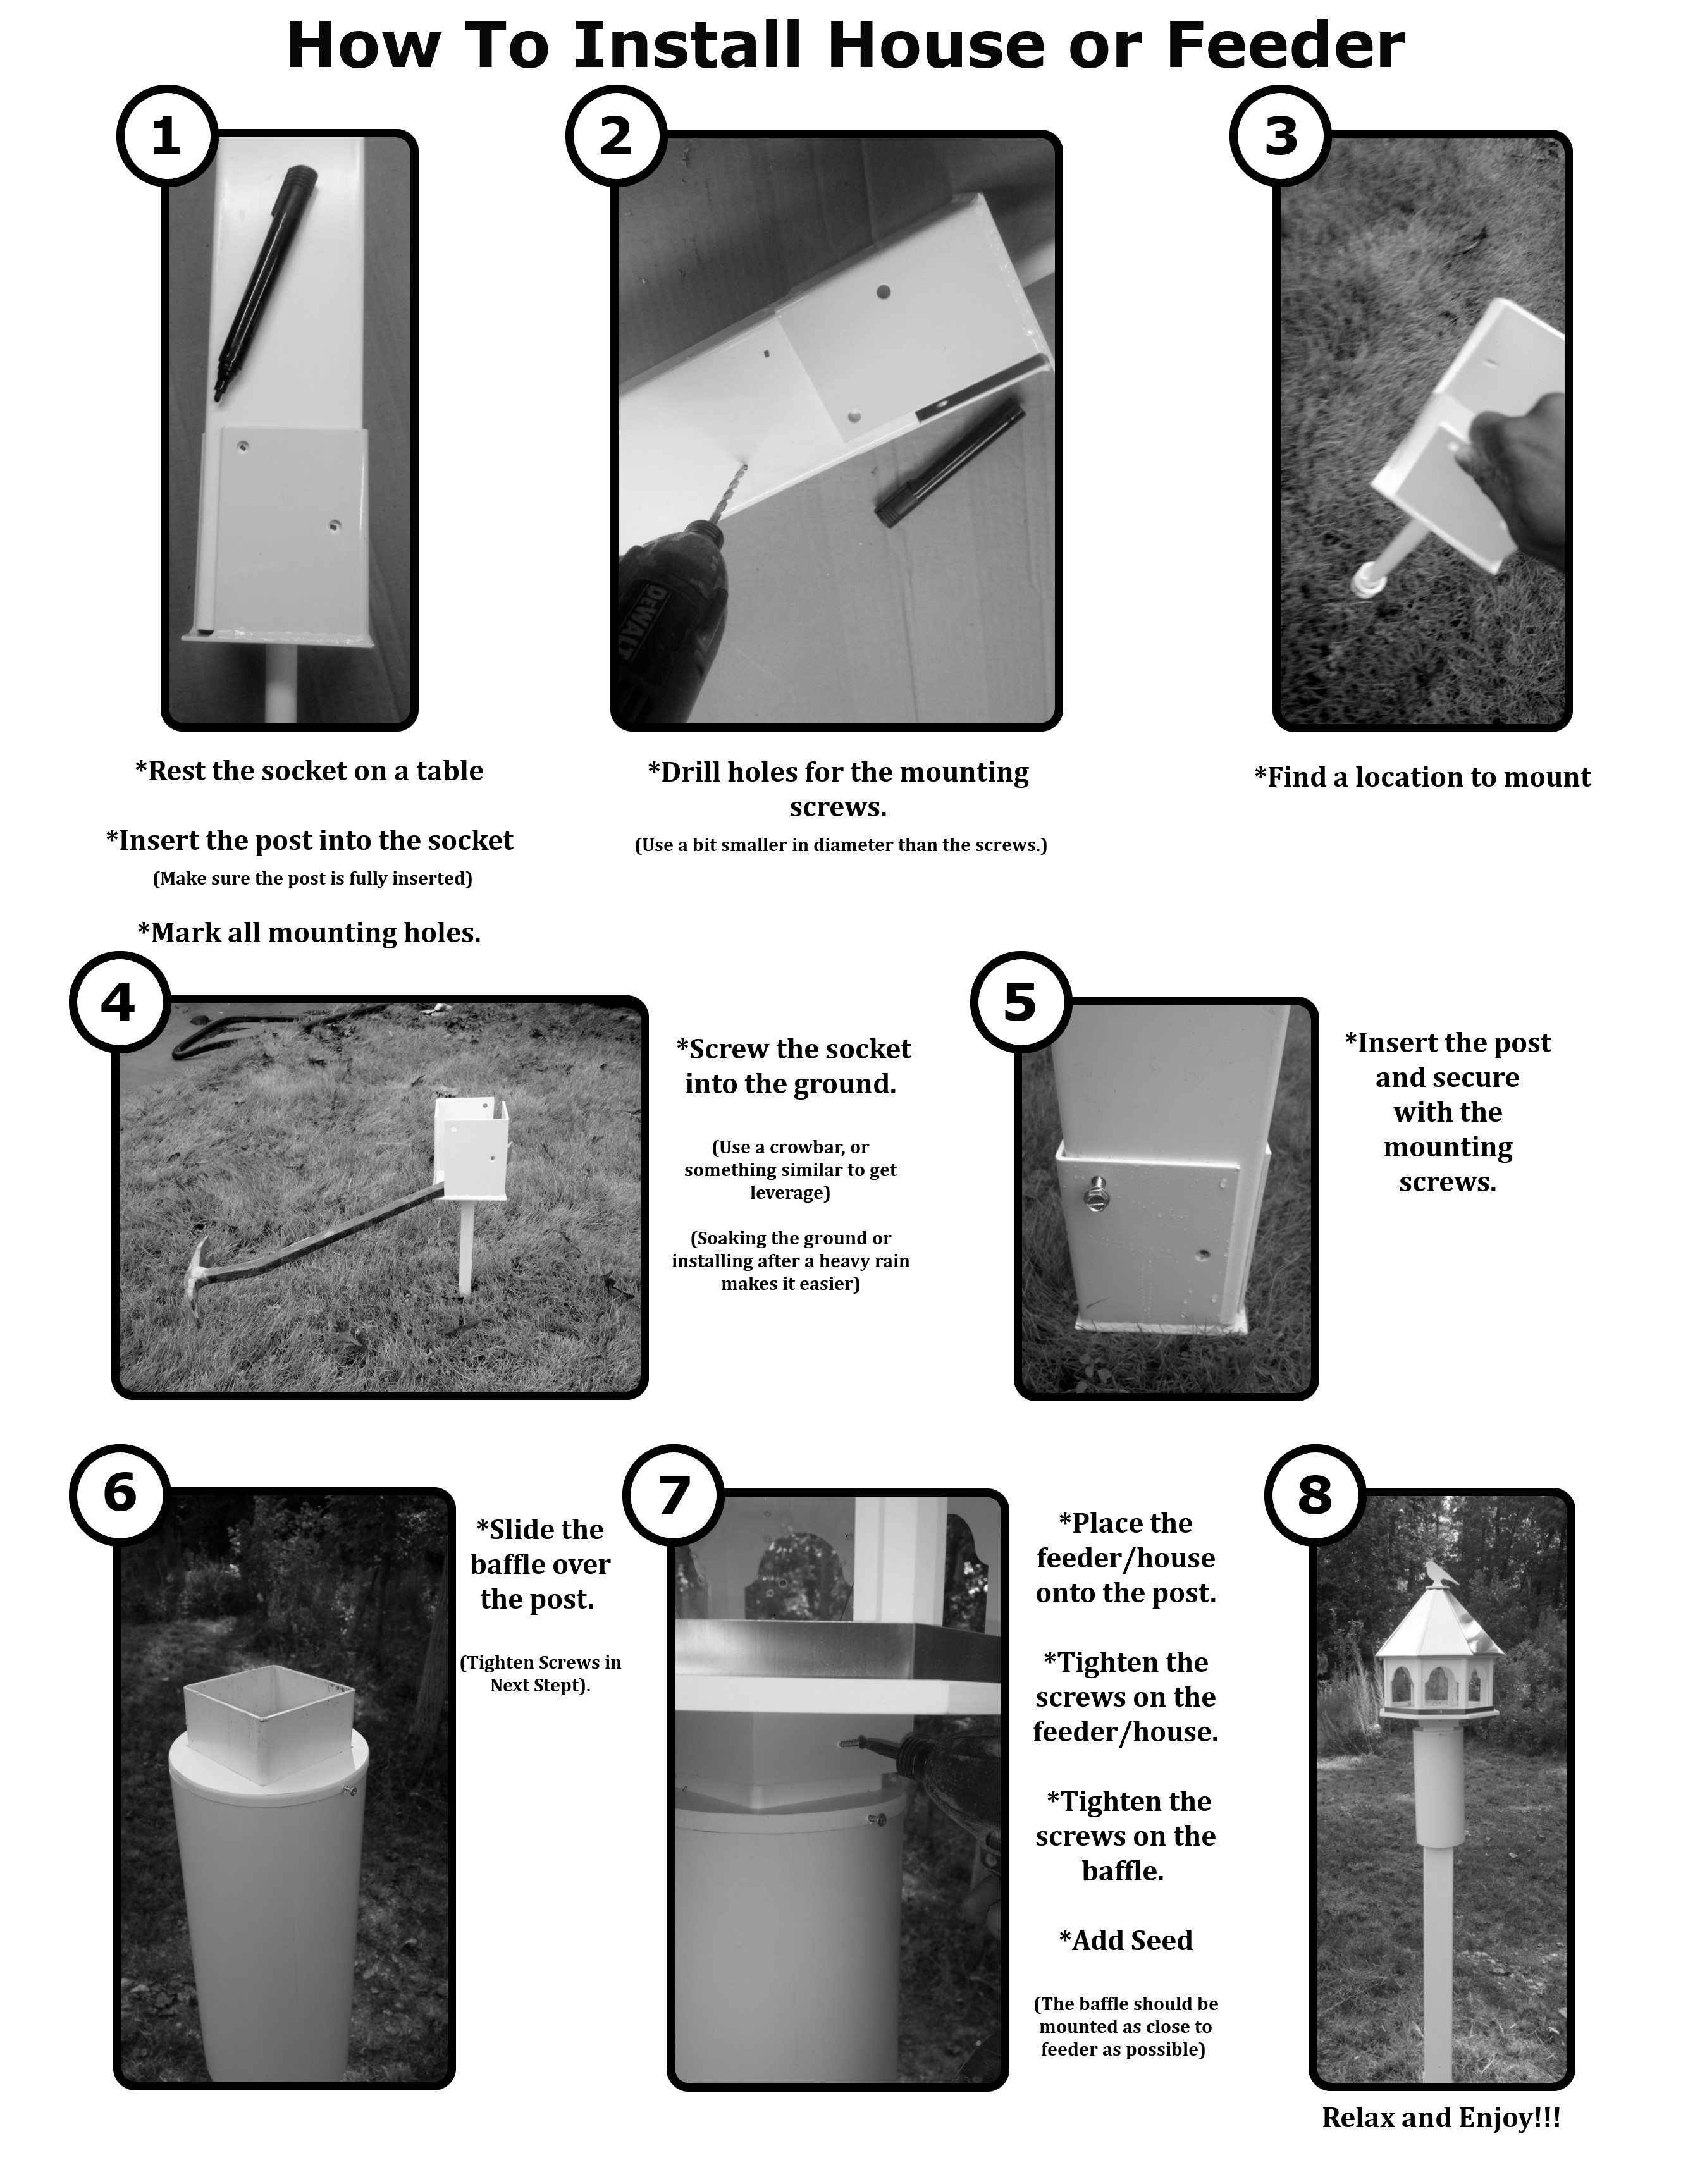
When installing a bird feeder or bird house, it's important to install it correctly, so that it is secure in all weather and can handle the weight of birds landing on it. This article explains how to install a feeder or house with a ground socket.
 Tools & Materials
Screwdriver
Drill with drill bits
Crowbar or breaker bar (used for leverage)
Screws (screws are included)
House or Feeder
Post (wooden or vinyl)
Socket
Baffle (optional)
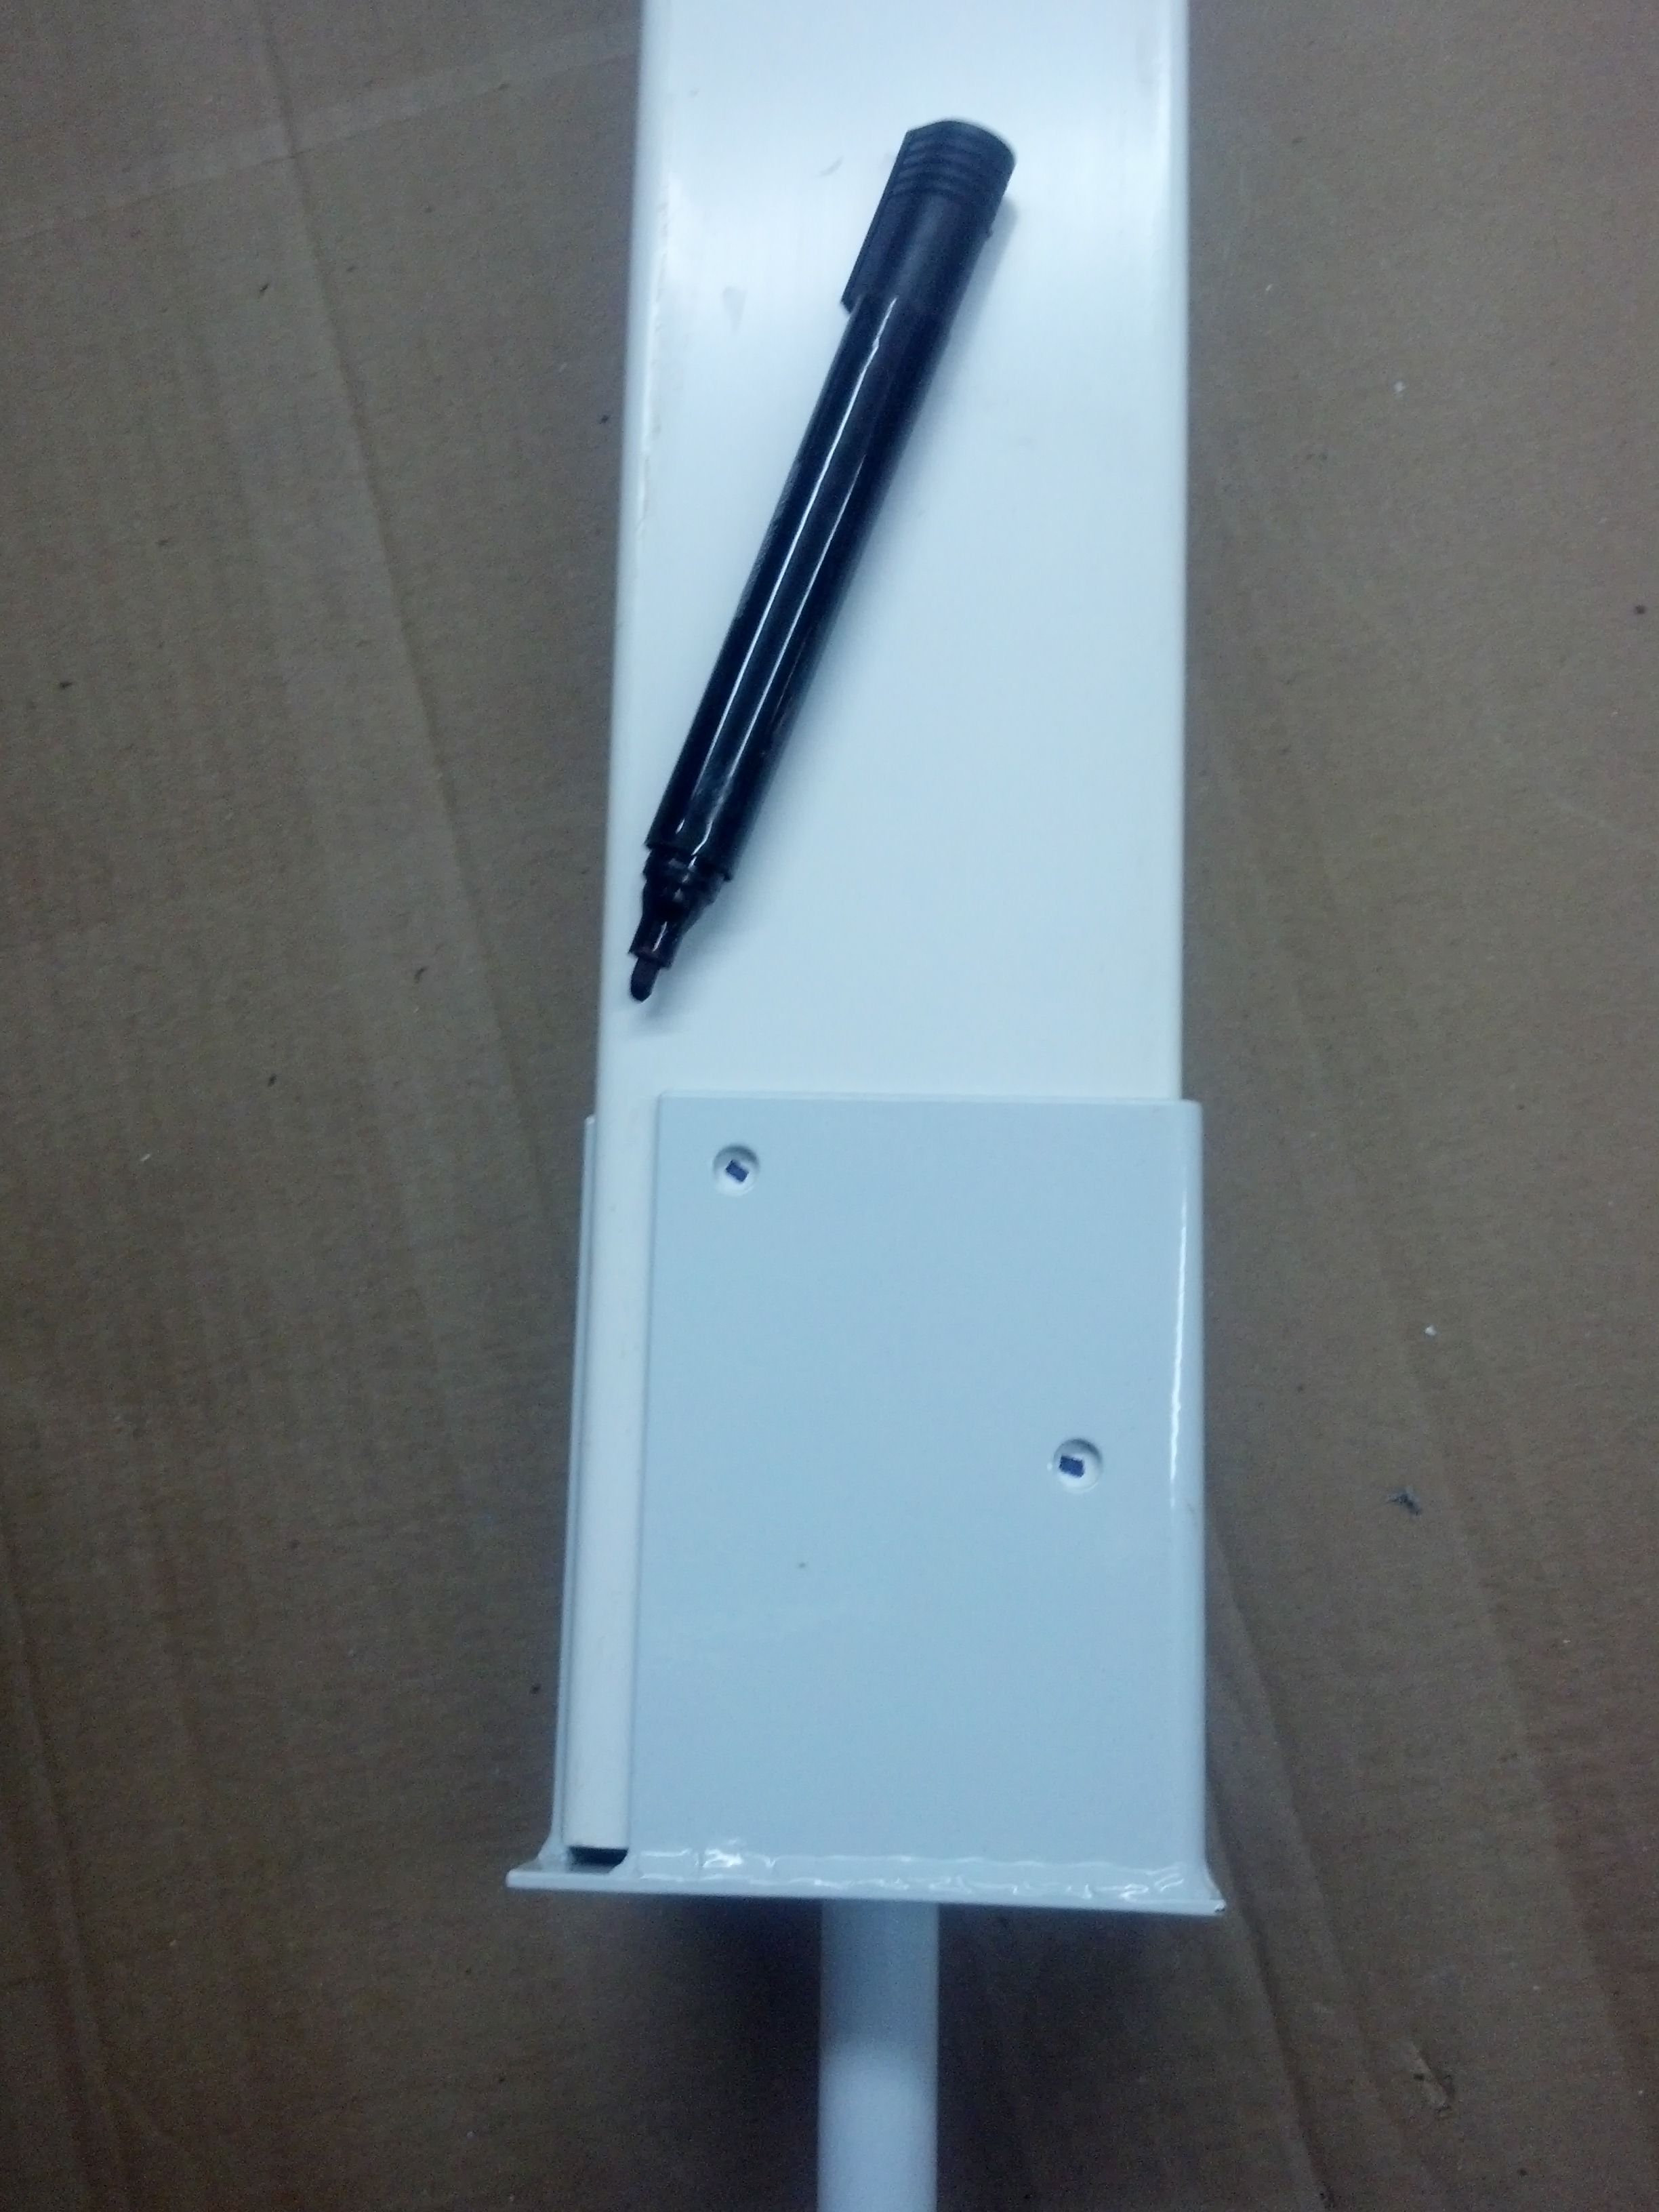
Prep the post for mounting. Resting the socket on a table, insert the post into the ground socket, making sure the post is fully inserted. Now, use a marker to mark all mounting holes.

Once marked, drill holes for the mounting screws. (Use a bit smaller in diameter than the screws.)
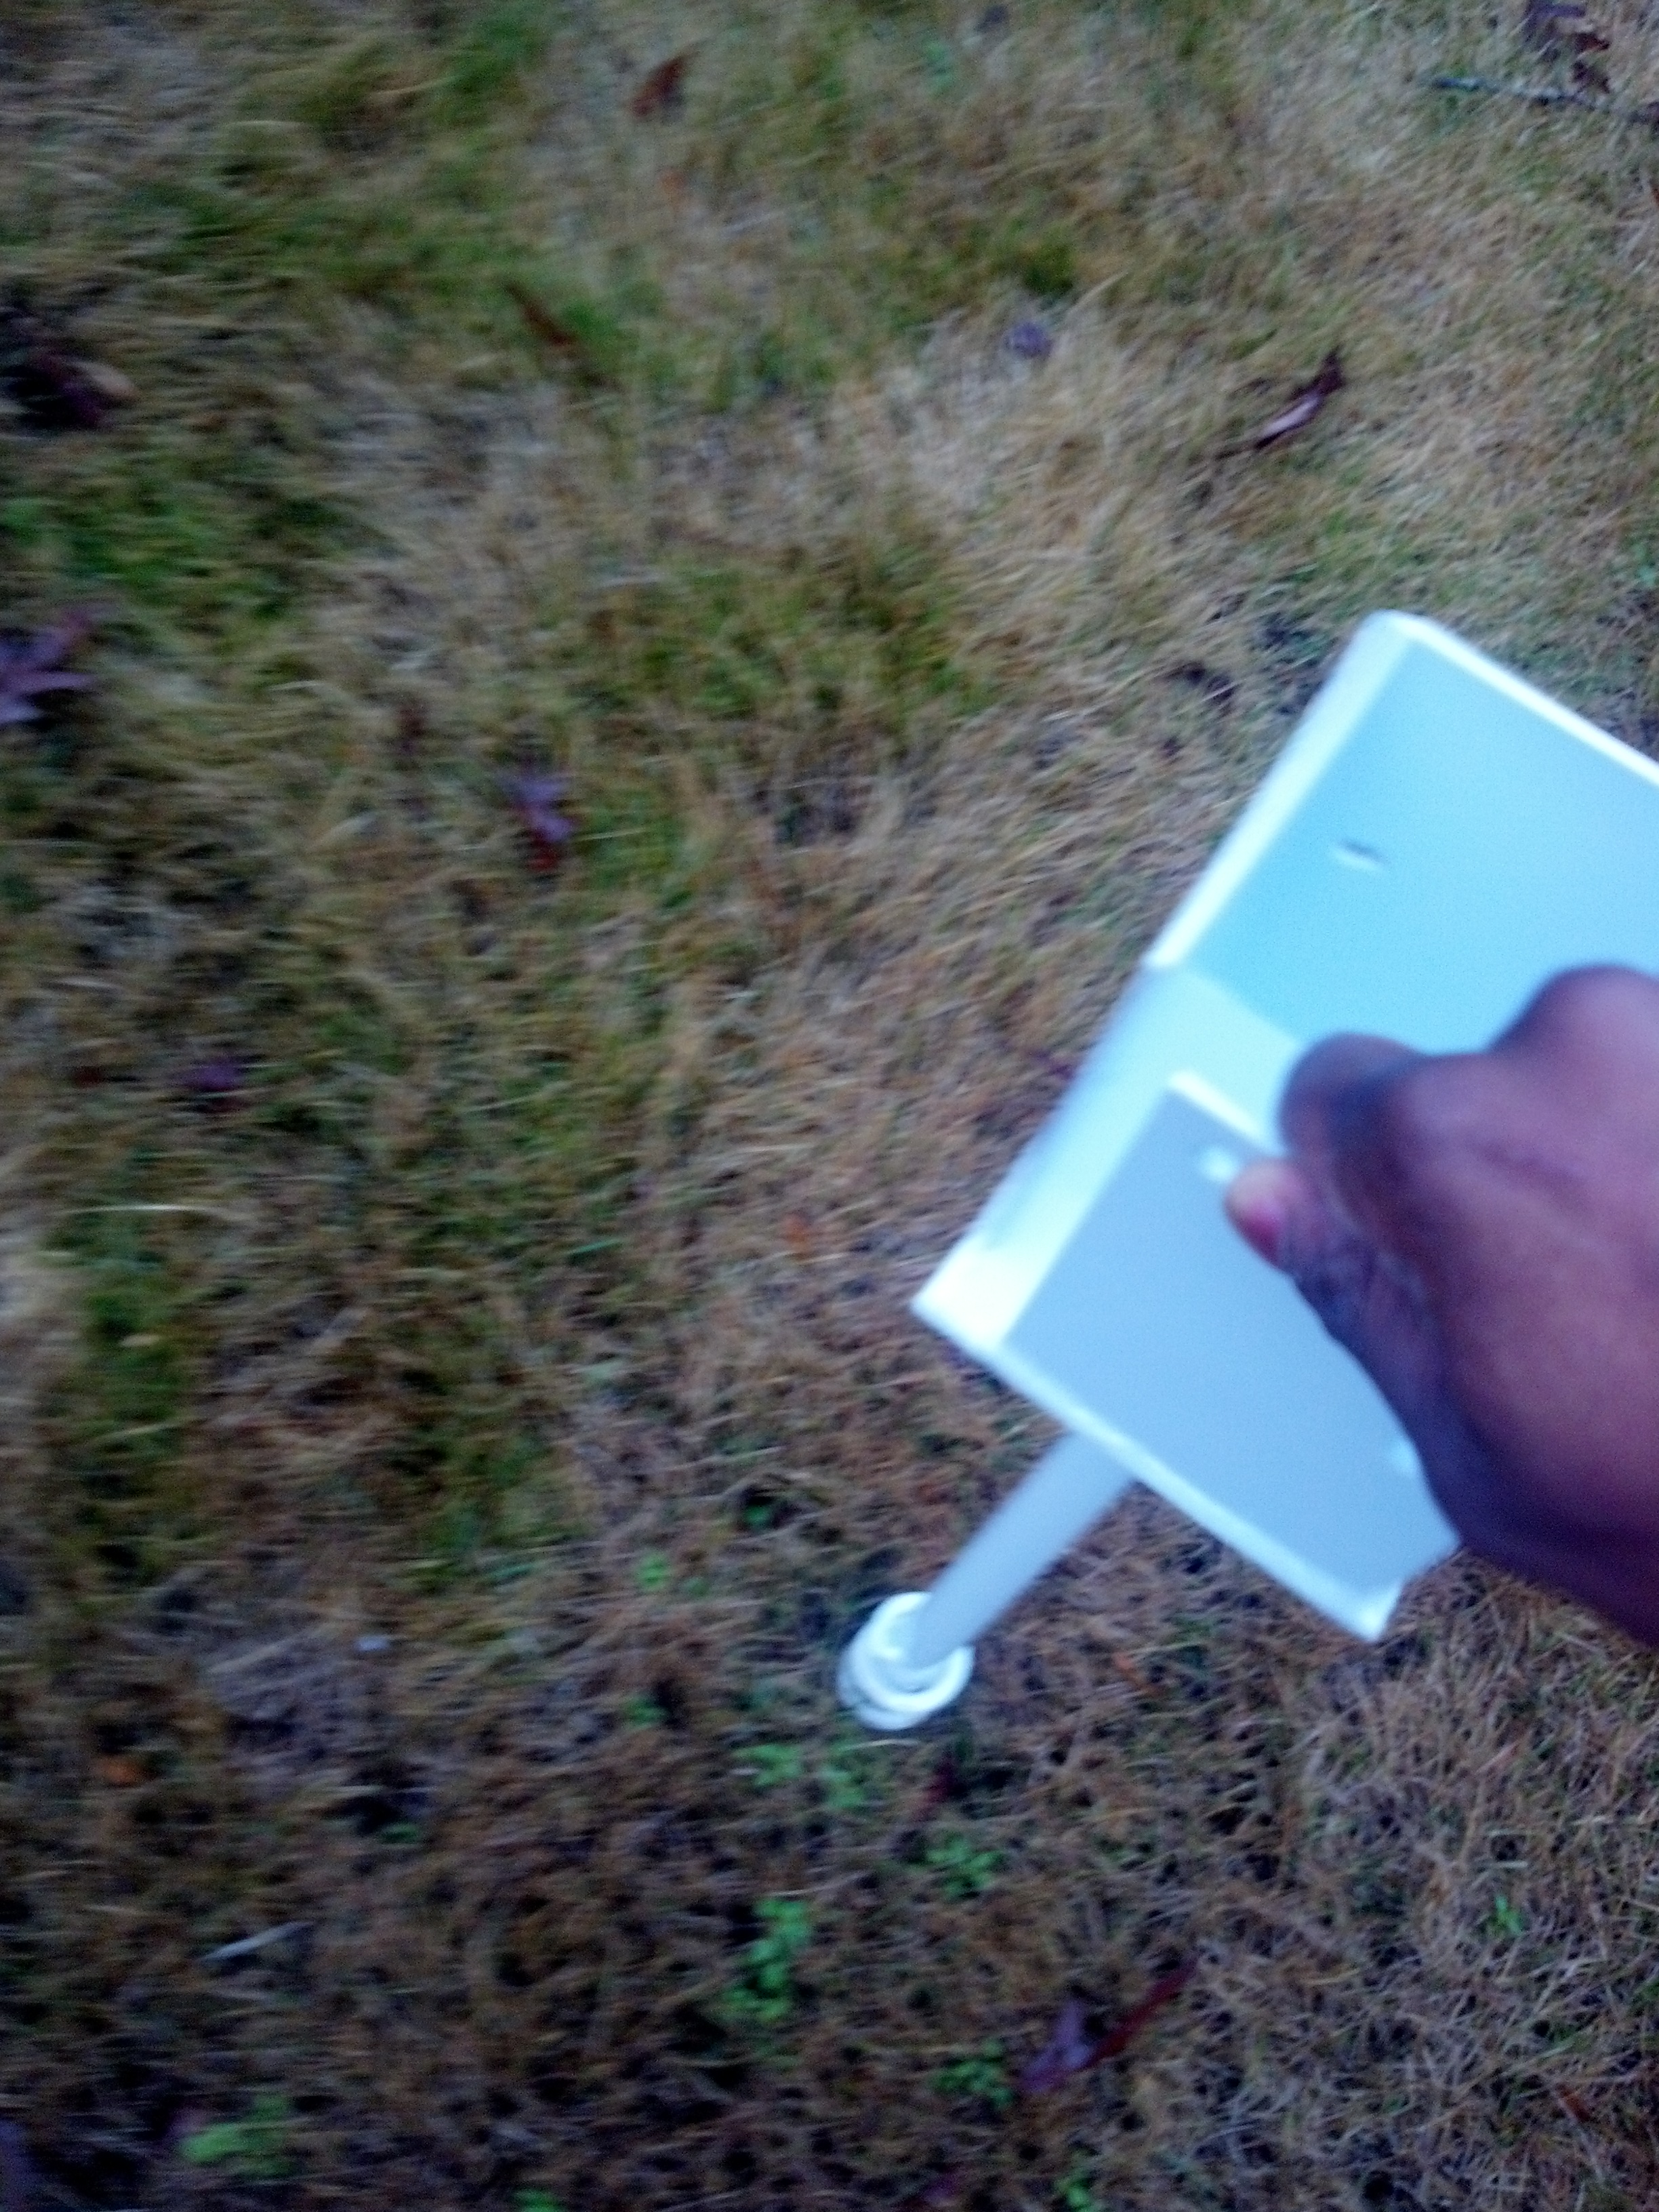
Find a place to mount the feeder. Once you have selected a suitable location, start hand screwing the ground socket into the ground. Soaking the ground or installing after a heavy rain makes it easier.
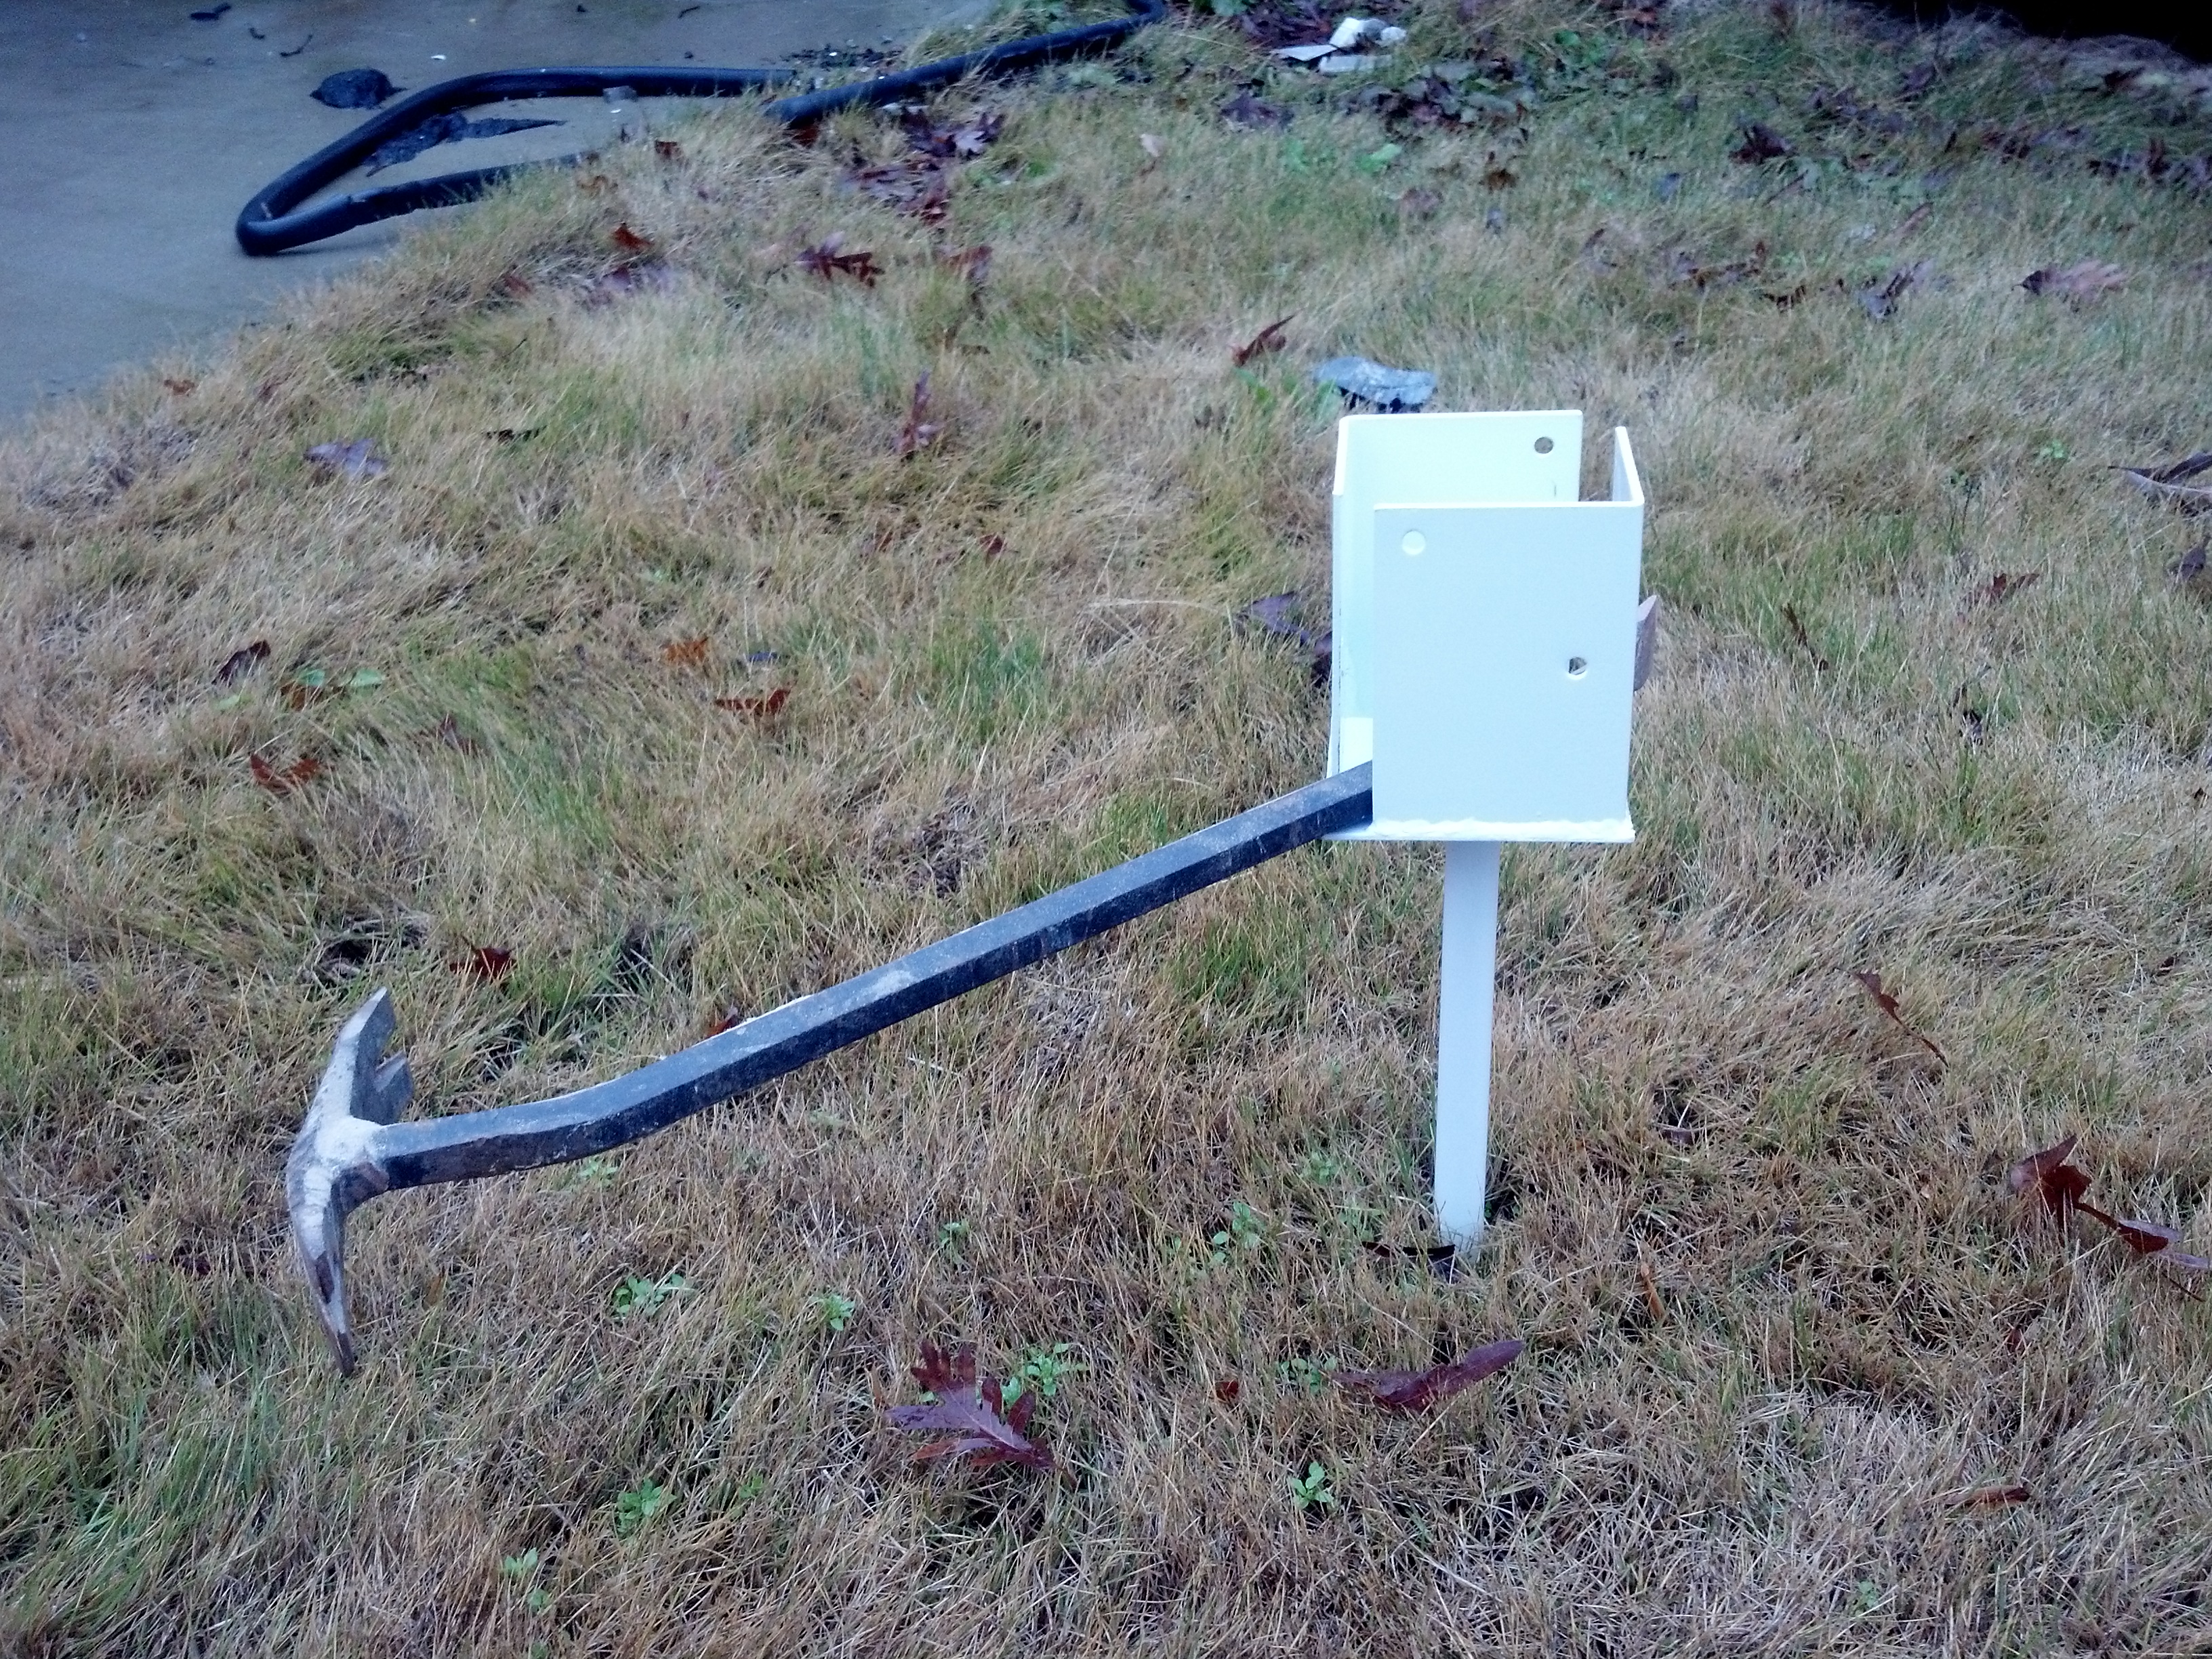
Use your crowbar, or something similar in weight and size, to get leverage. Screw the ground socket till it's flush with the ground.
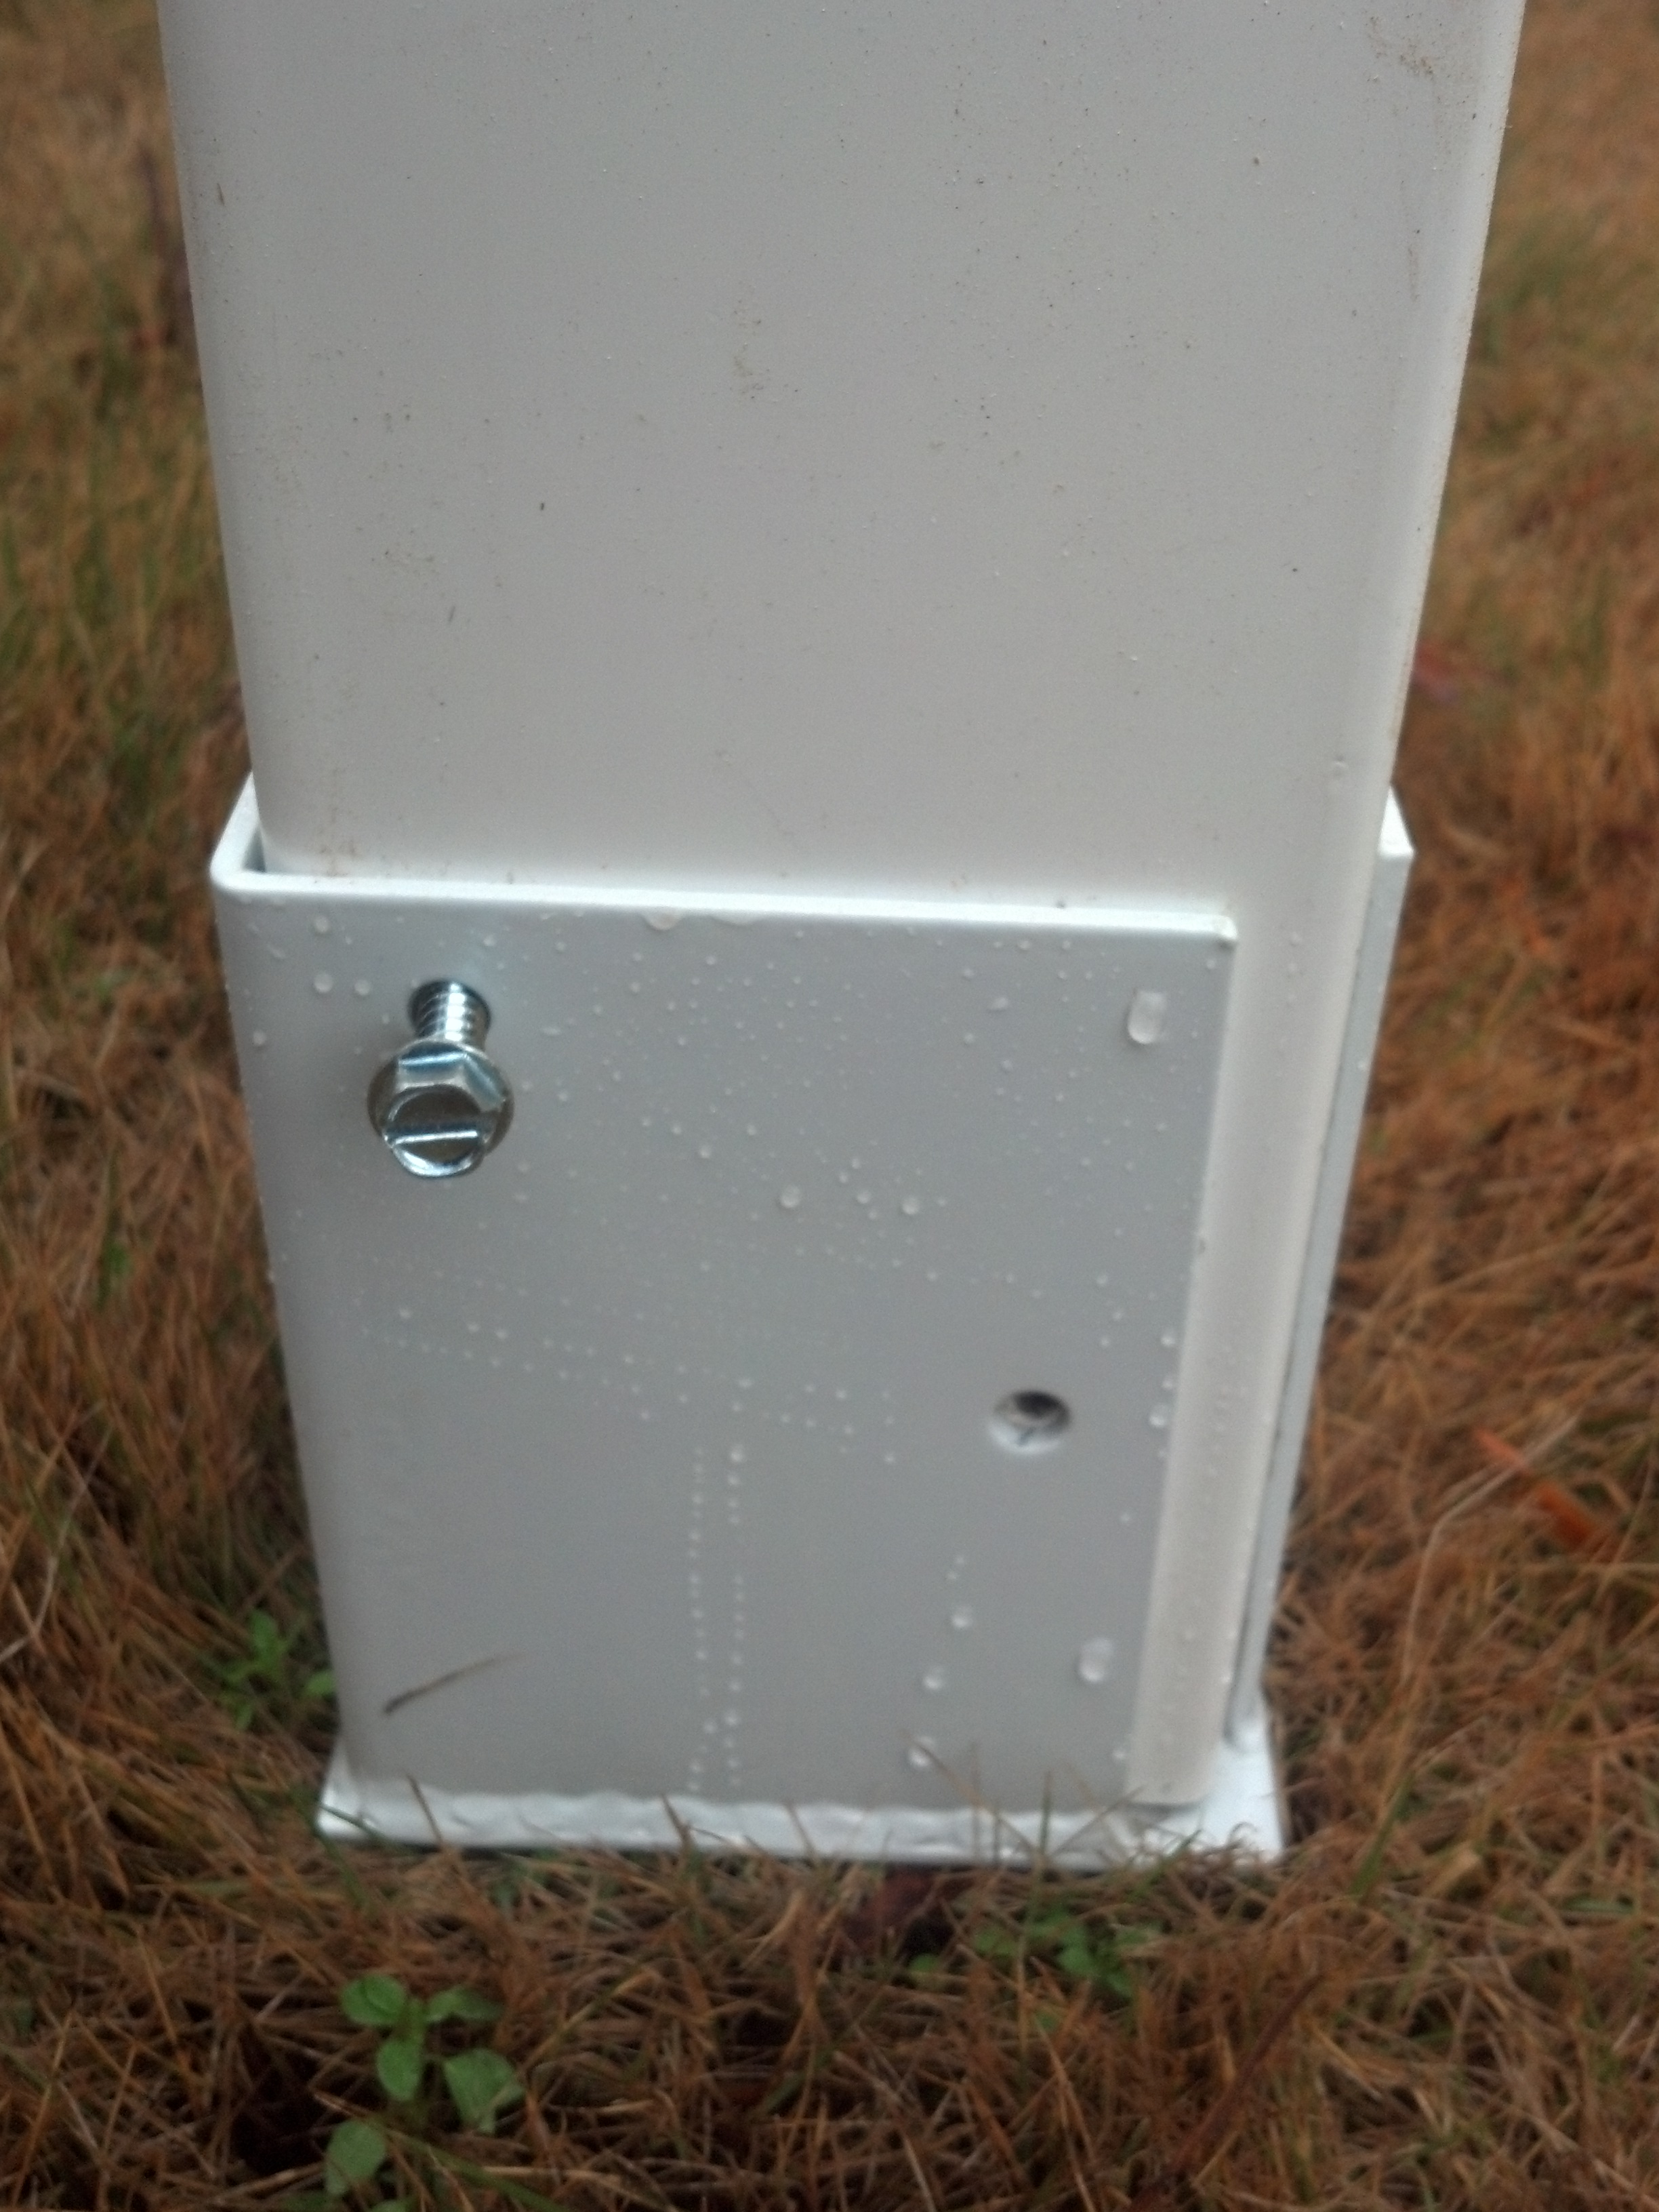
After the ground socket is flush, insert the post. Secure it with the mounting screws.
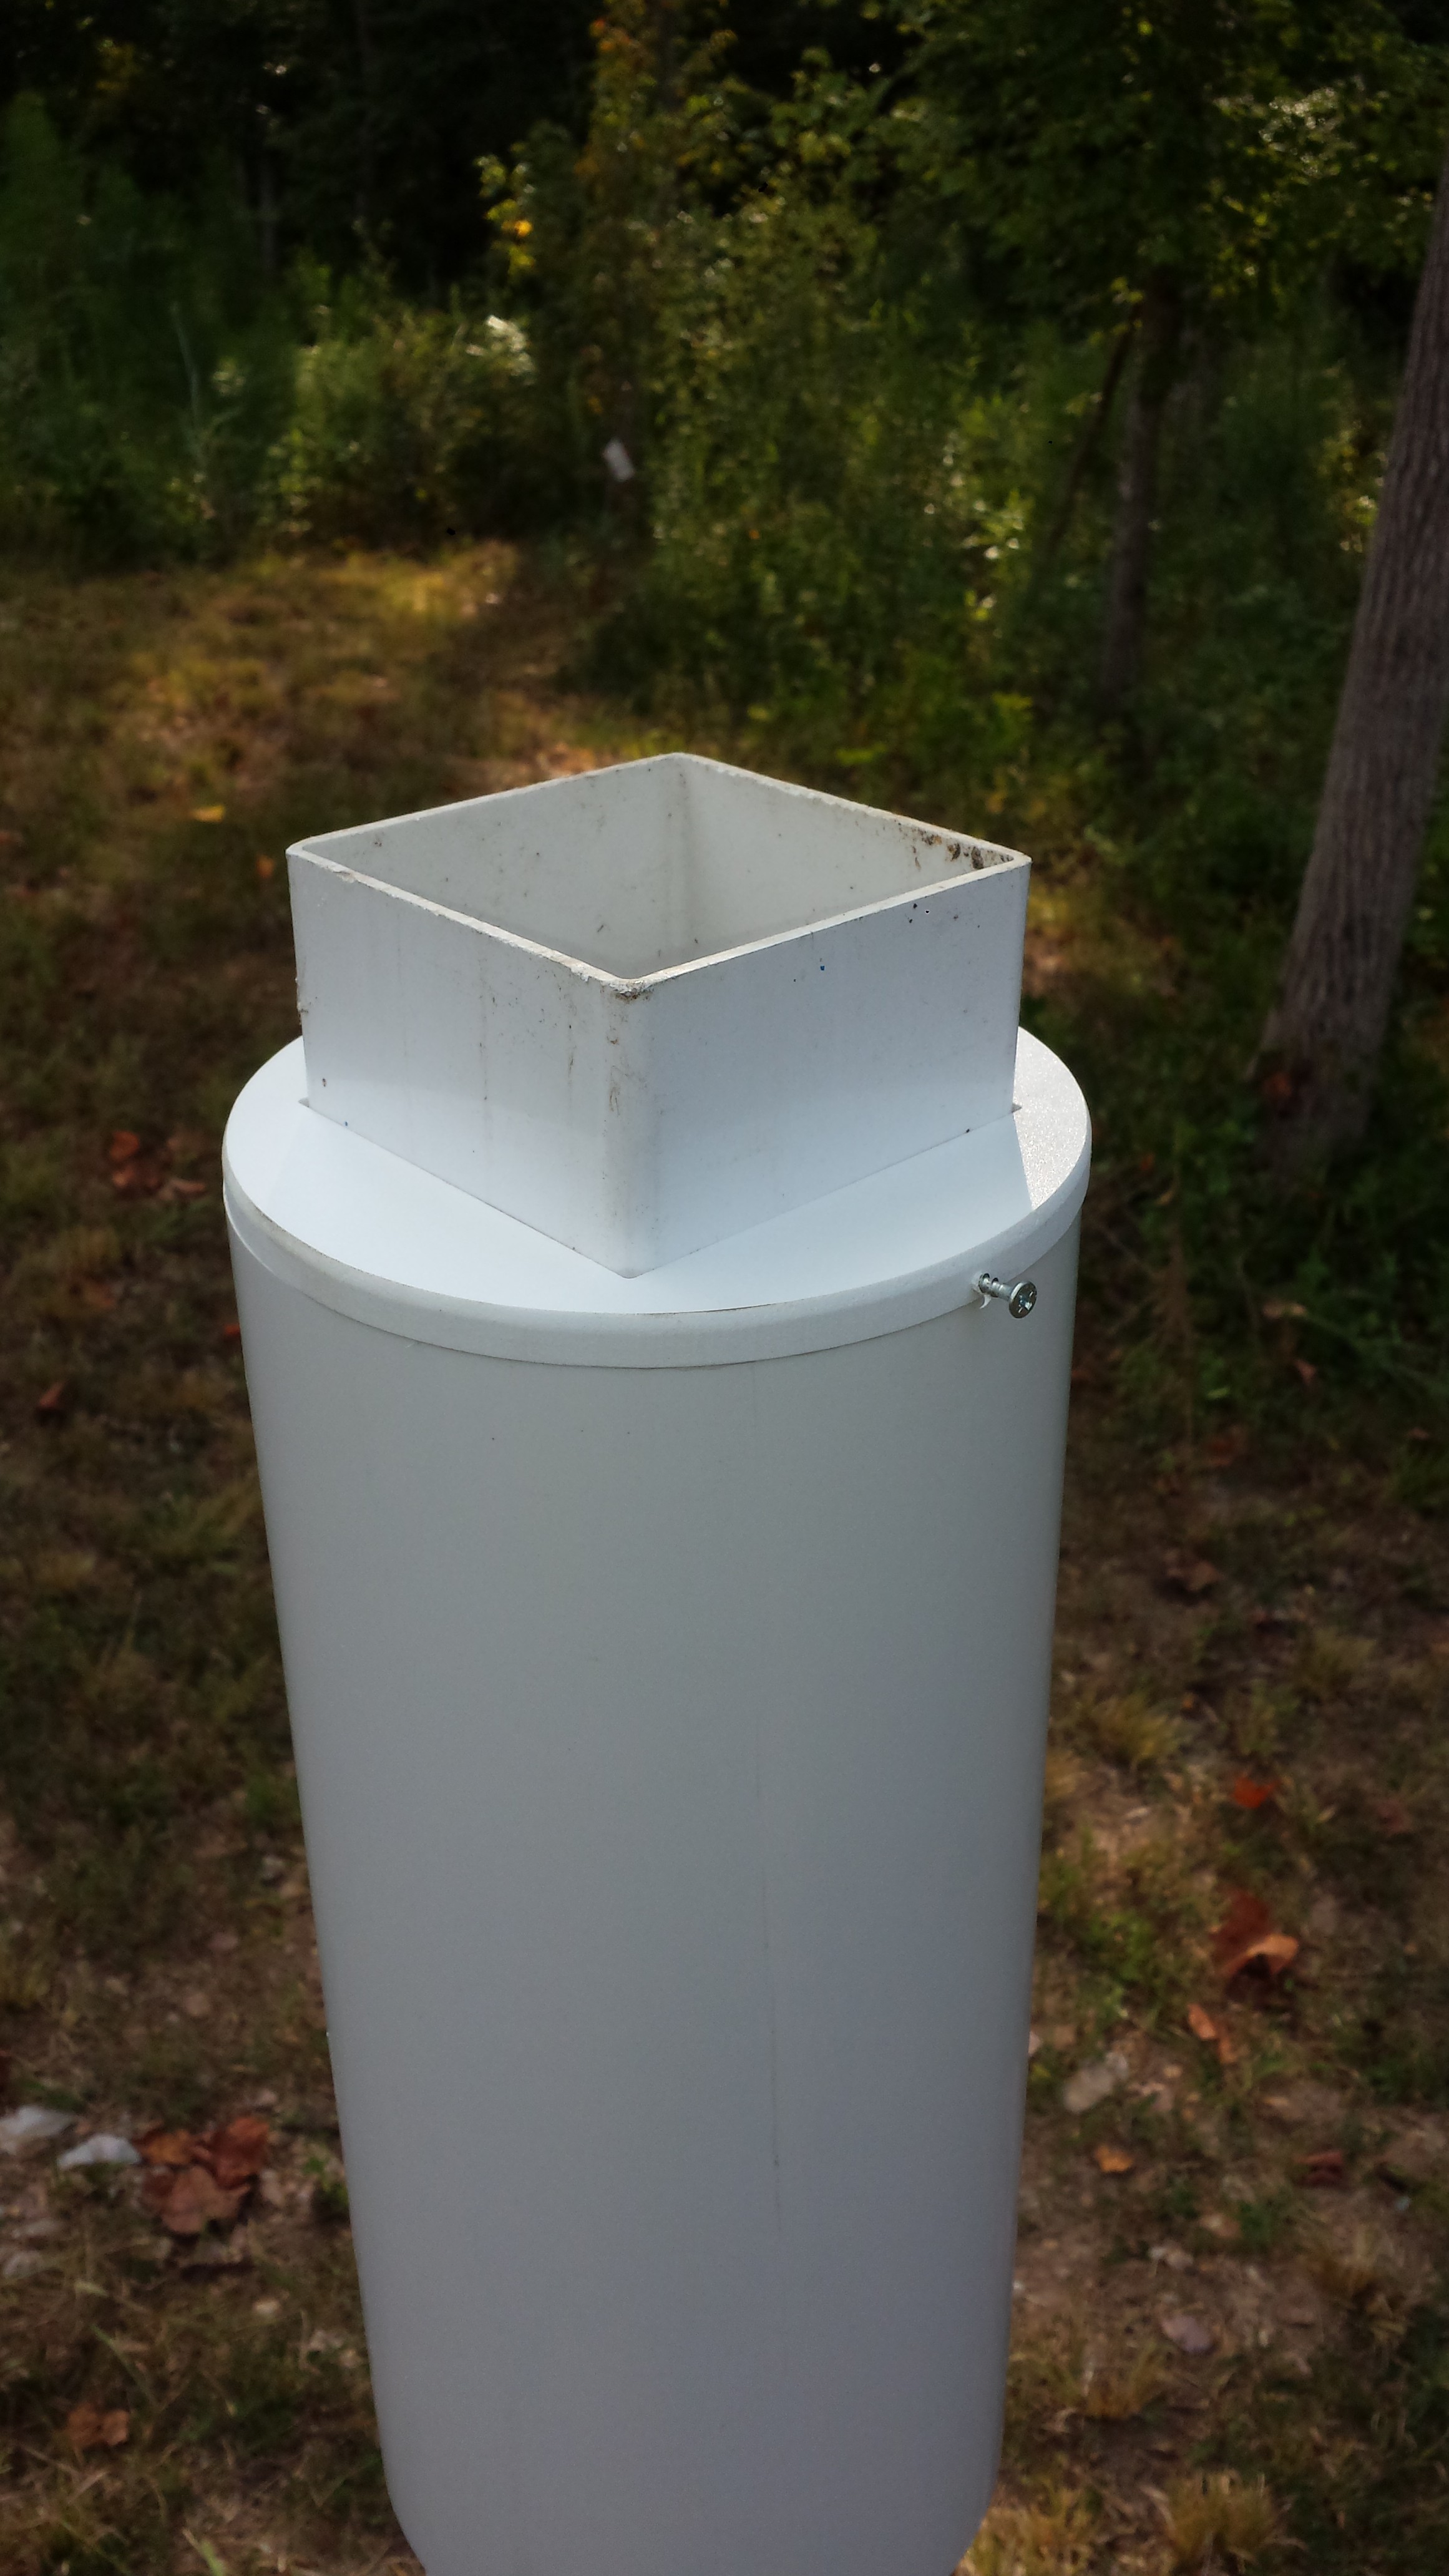
Once the post is secure, slide the baffle over the post. It doesn't have to be screwed in yet.
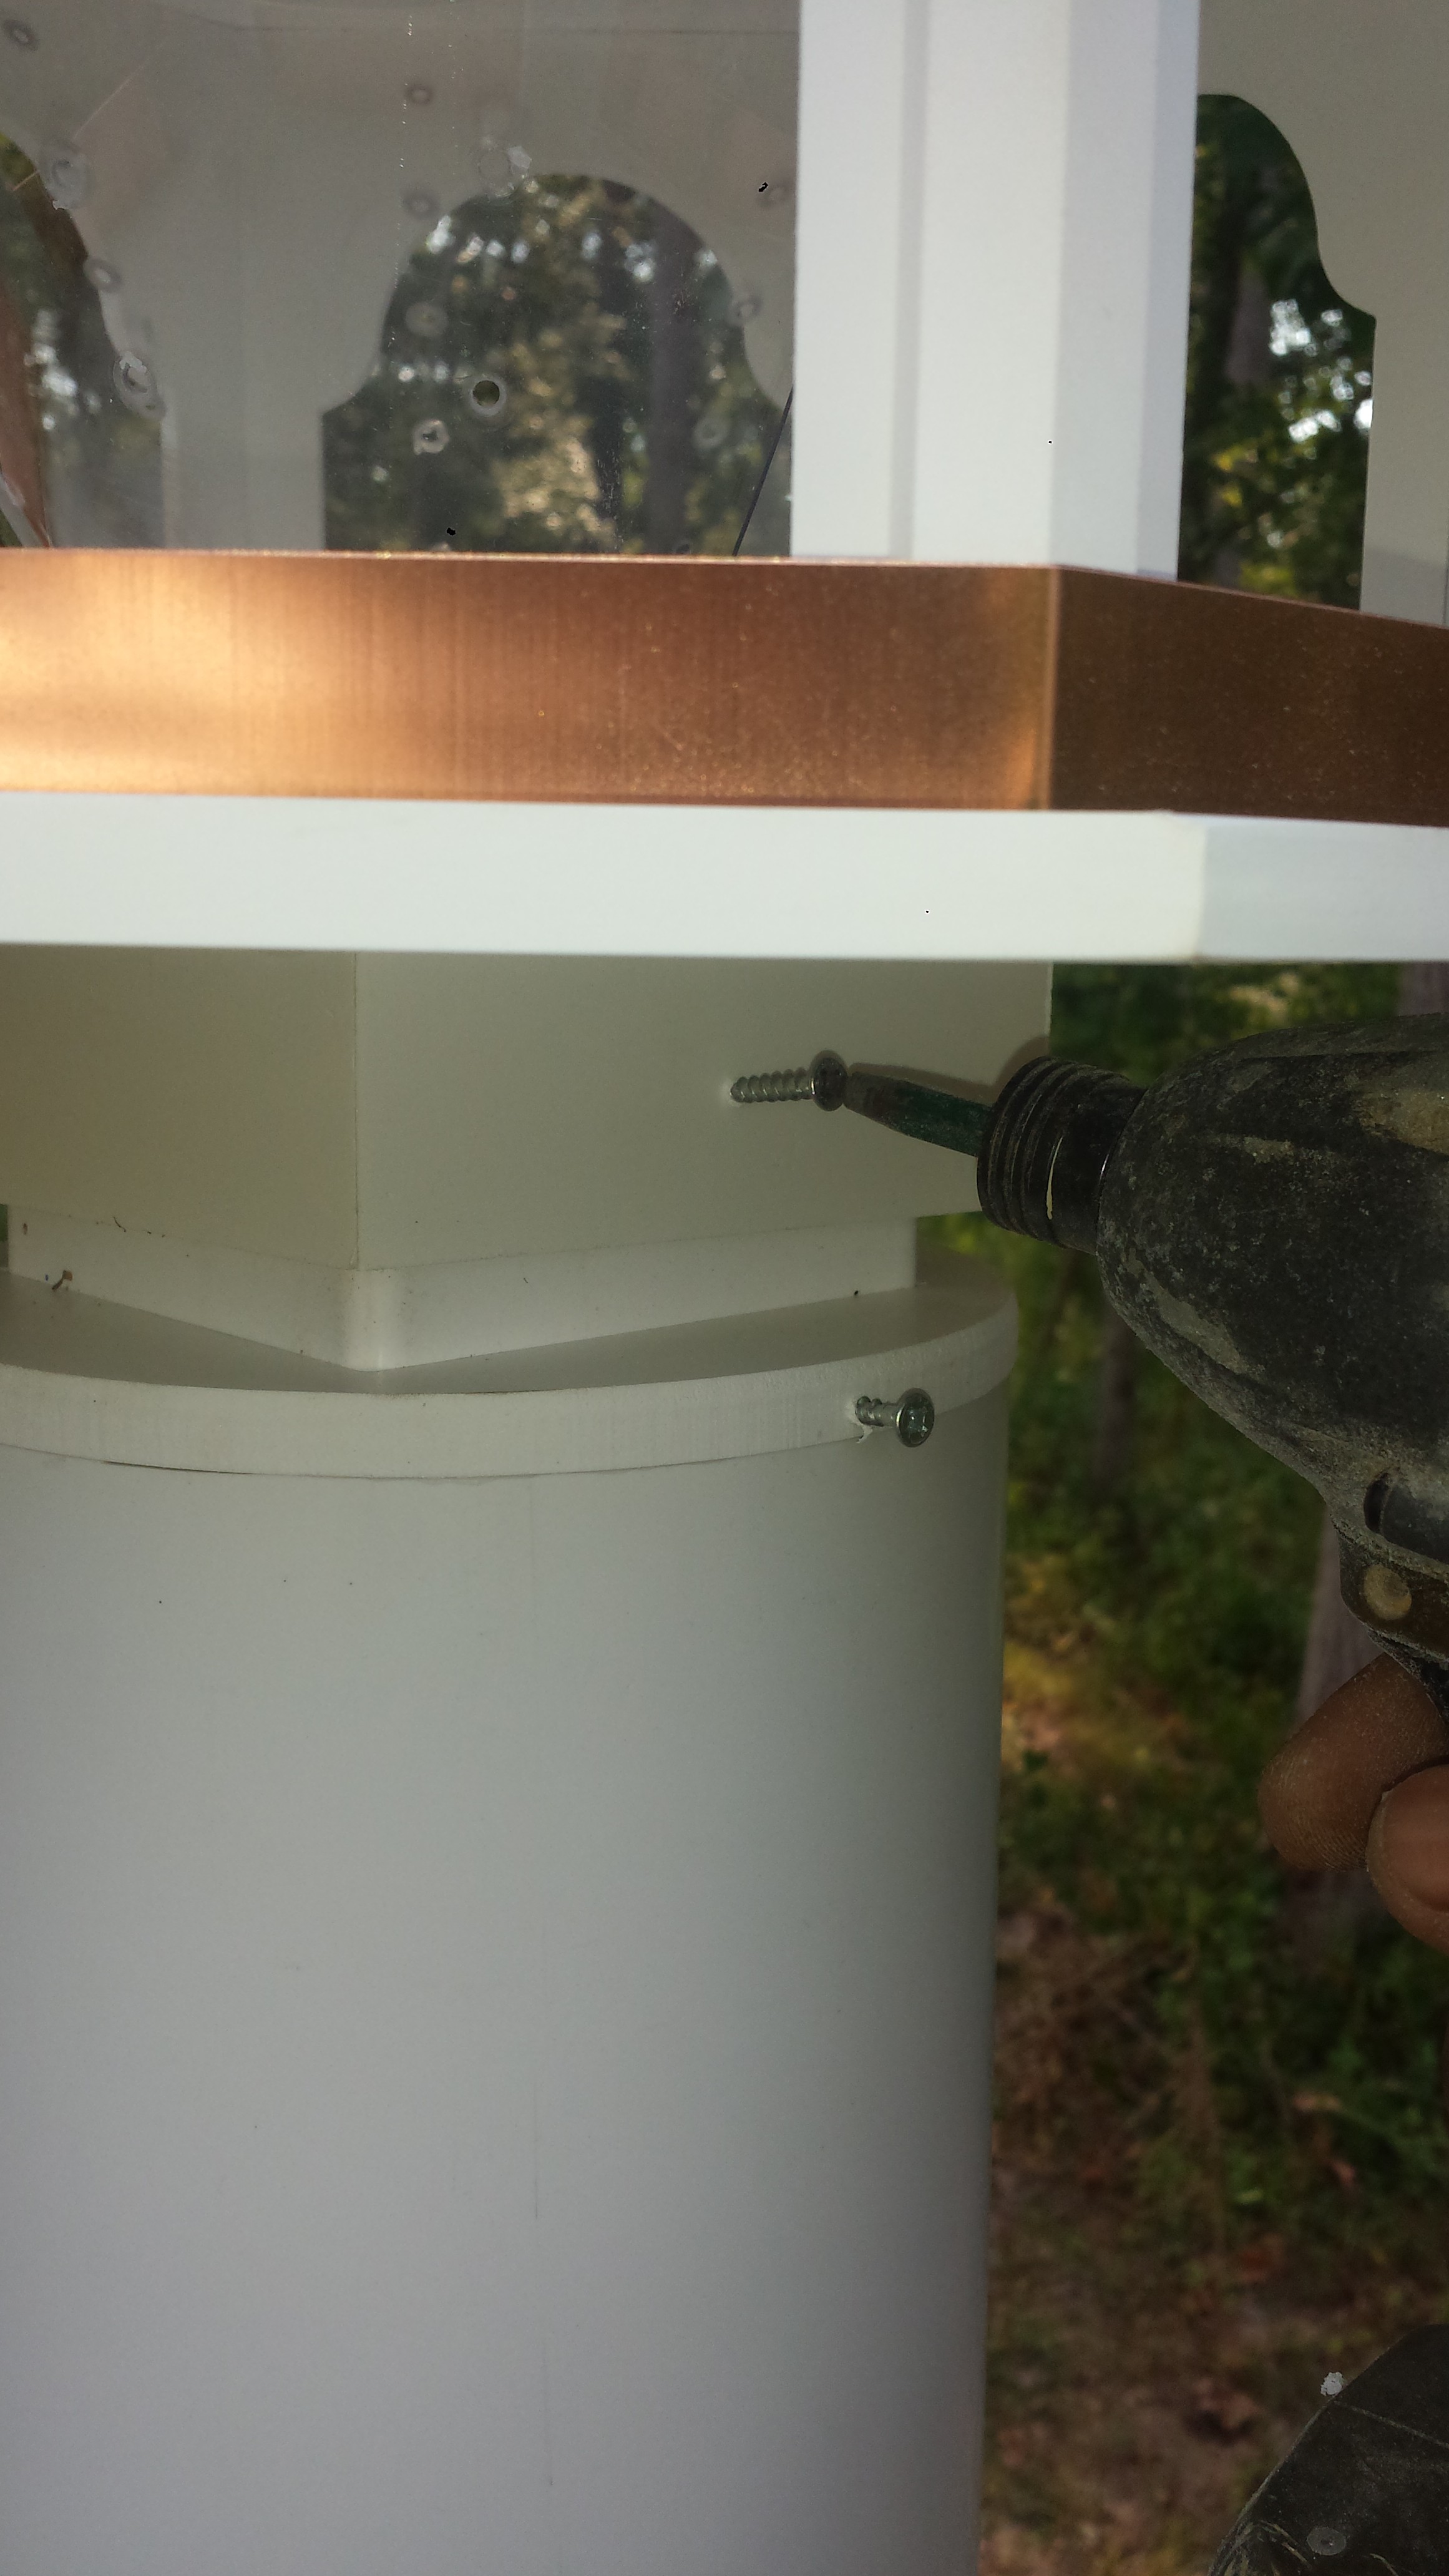
Place the bird feeder or house onto the post. (Bird seed can be added to bird feeder at this time.)
Secure the bird feeder or house to the post. Then secure the baffle to the post. The baffle should be mounted as close to feeder as possible.
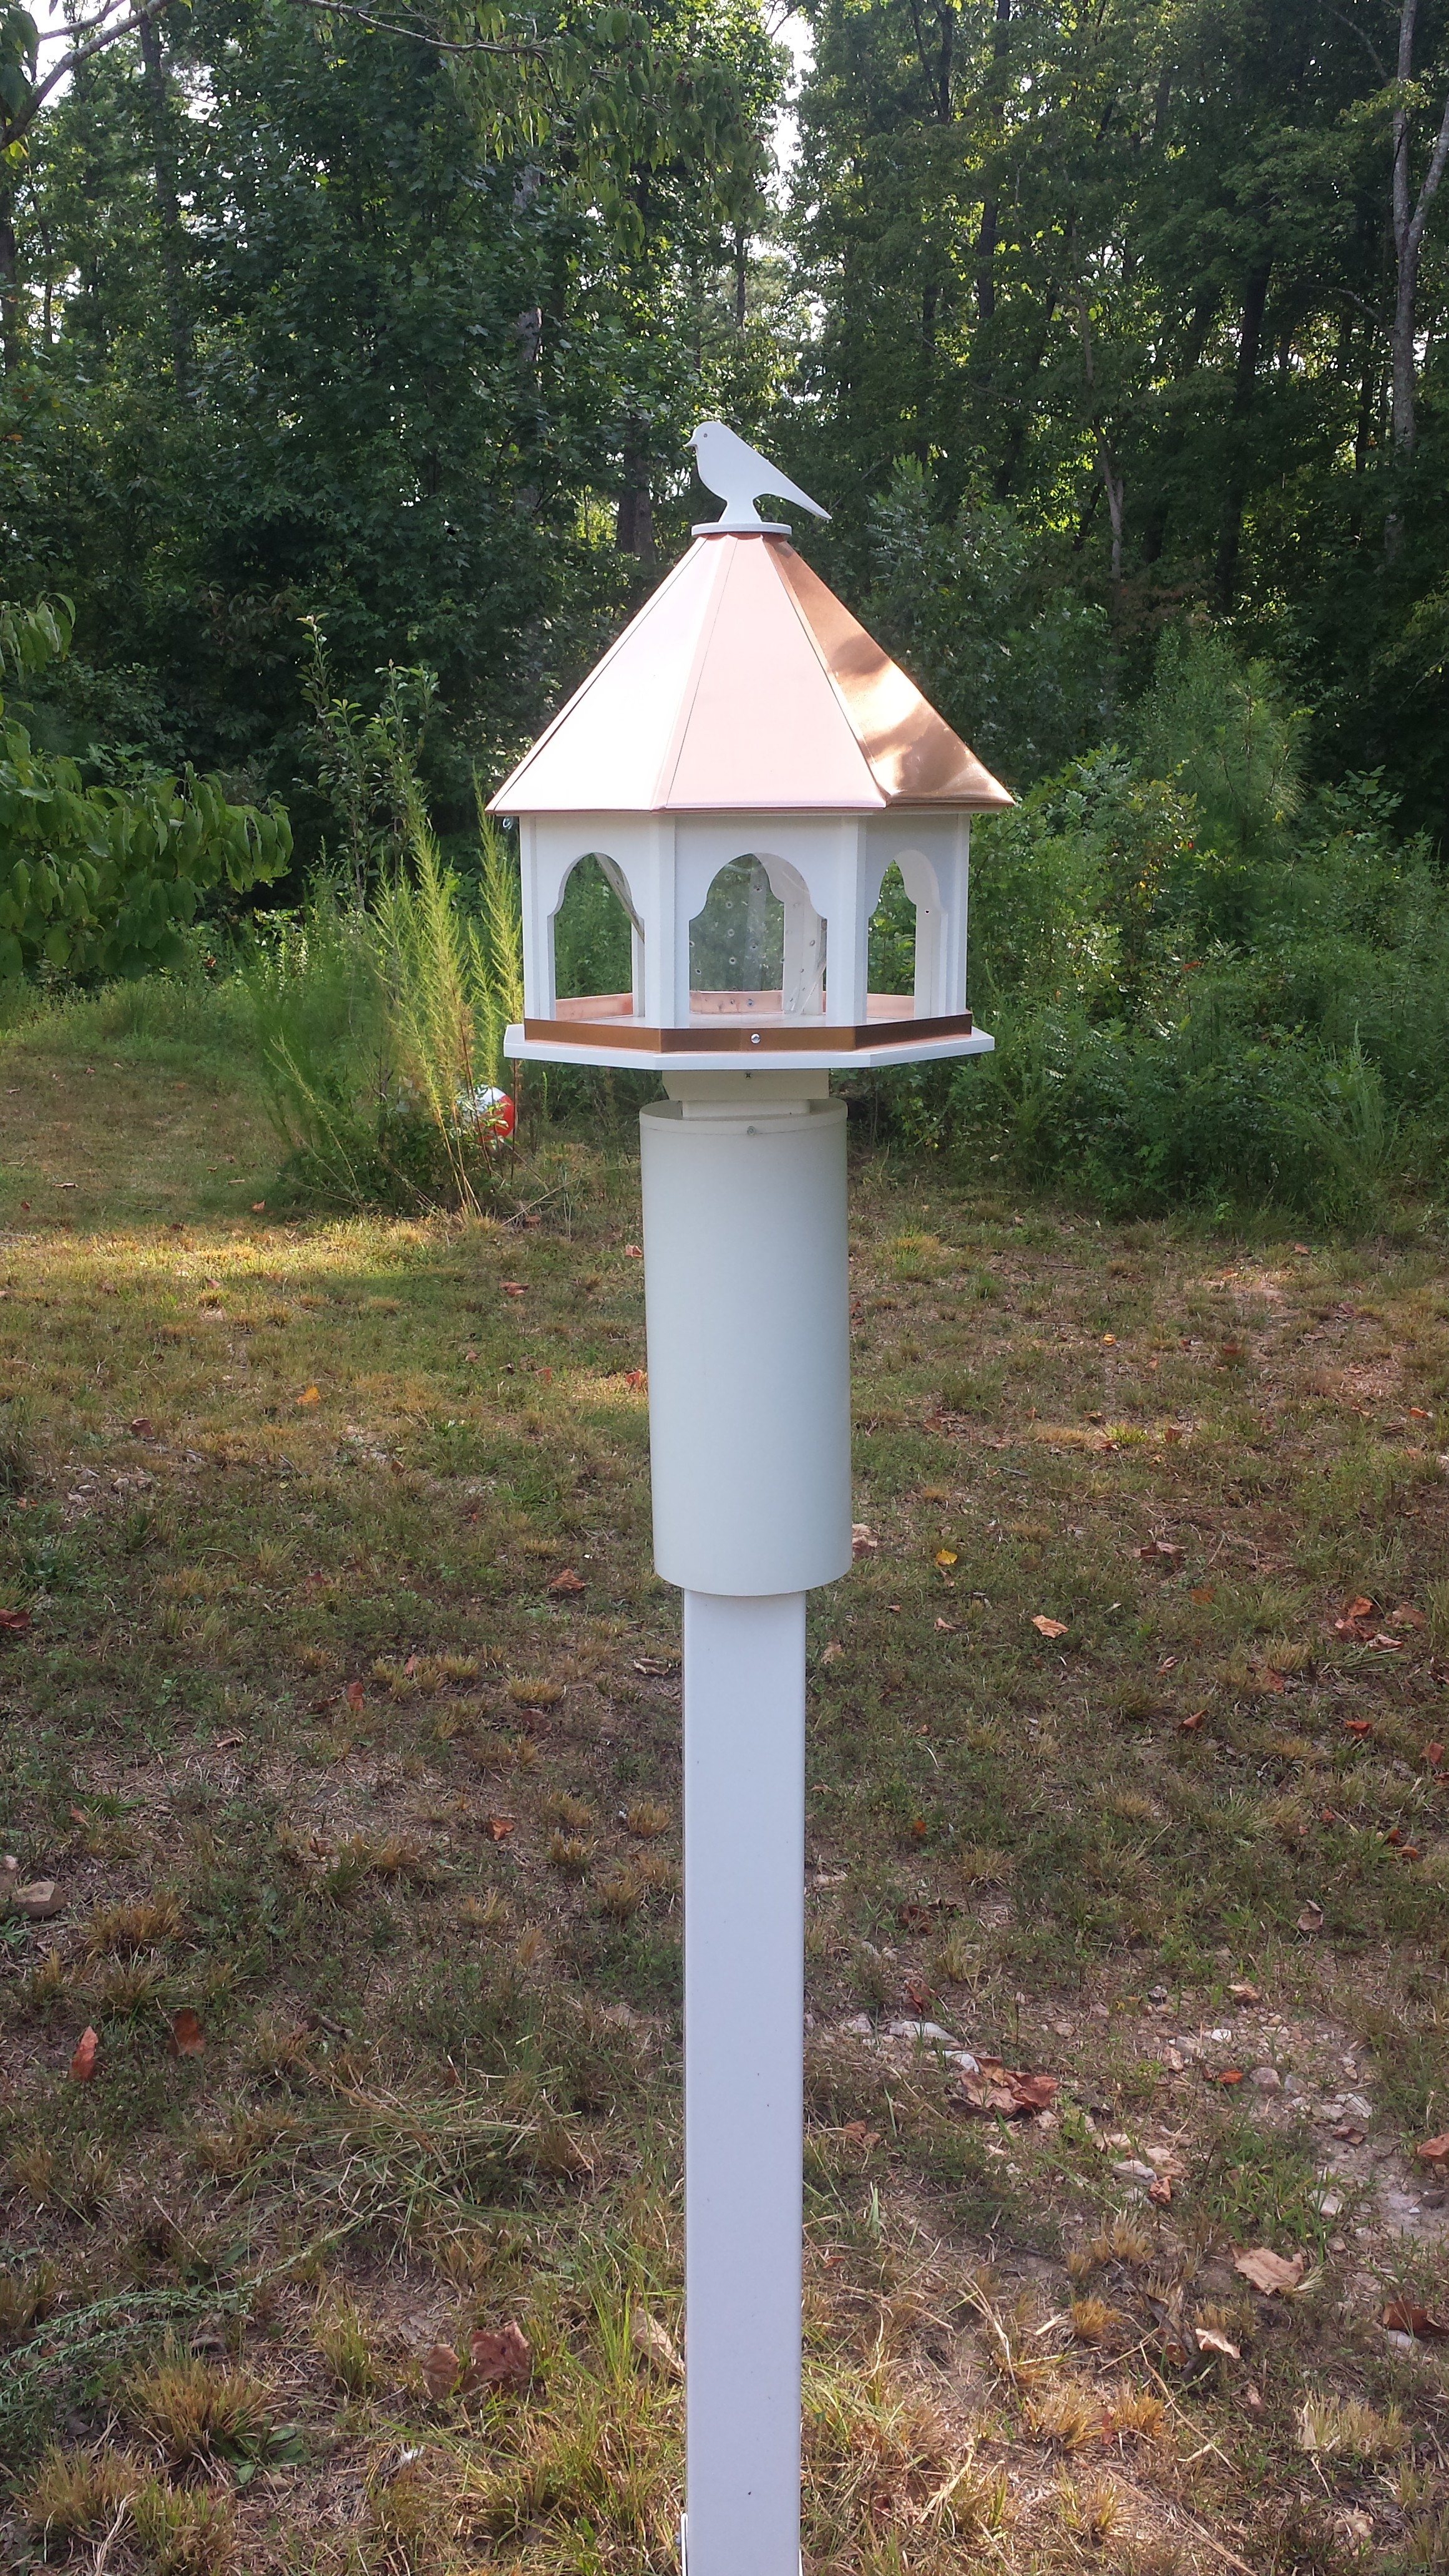
Finally, stand back and enjoy your new bird feeder or house. Don't forget the finial on top of the roof.
Copyright 2012 © Admin All Bird Houses and Feeder are handmade in the USA

